
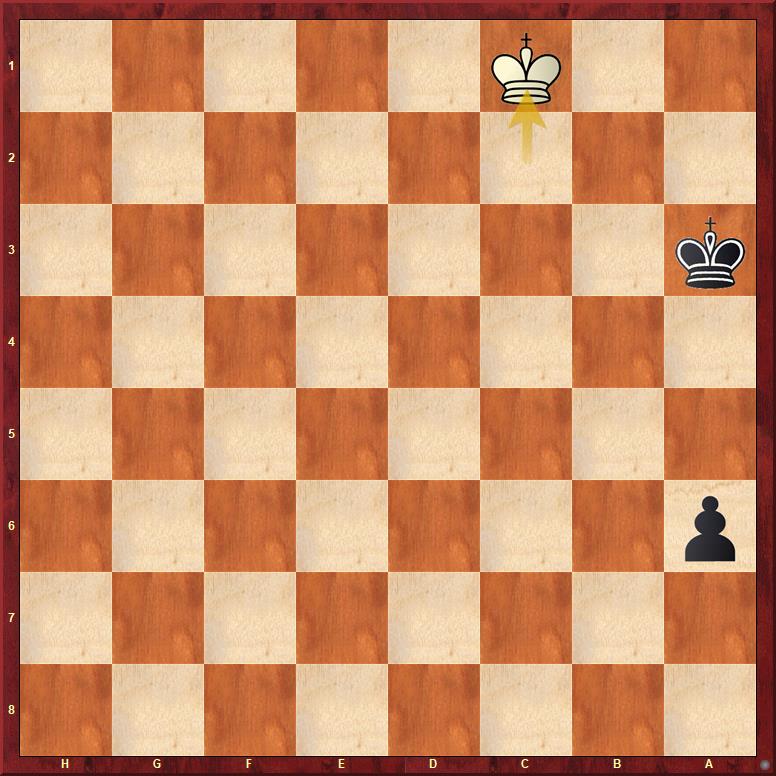
White played 45. Kg4. The question, of course, is: is this right or wrong? Naturally, it is a good idea to back up your answer with a few variations.
Click here for the answer
The move 45. Kg4 is obviously one of the first moves you look at. Especially in a blitz game where time is short (this was 3+0 blitz). However, this move is not top priority. After all, White can still capture the h-pawn after it moves.
Much more important at this moment is what is happening on the other side of the board. It is almost a certainty that Black will push the h-pawn sooner or later, and White will have to take it, losing the f-pawn in the process. But what remains on the other side of the board is of vital importance.
By the way, this wasn’t the original puzzle. That only started after 45. Kg4. Shall we look at that first? An attractive idea seems to be clearing the air quickly by playing 45… h3. I suspect a great many people have made this mistake. This puzzle was played no fewer than 795 times and has a fairly high rating of 2391. So, what is wrong with:
45… h3?
It doesn’t win! Again, it all comes down to the other side of the board. As is so often the case in pawn endgames, it’s about the tempo of the moves and how you can influence it. What Black wants to avoid is a position where the White king is in the corner, or – as is possible here – reaches c1 in time. In that case, it’s a draw (with a rook pawn); see the position further below and the detailed analysis. Below, you will find both diagrams.
The correct answer is:
45… a5!
The difference is only one tempo. But it is like often in pawn endgames a decisive tempo! You can find the complete analysis by clicking on the link below. Just scroll down a bit. Notice how a single move often makes all the difference in pawn endgames. That is exactly what makes them so incredibly difficult!
Let’s first take a look at two positions. The first position below is what Black wants to achieve. The Black king shields off its White counterpart, allowing the a-pawn to promote safely.
This well known position is what Black wants to avoid at all costs! If Black plays his king to a2 here, White can endlessly shuffle back and forth between c1 and c2. The Black a-pawn will then be unable to promote. Of course, it is just as much a dead draw if White can get his king to a1. That is the curse of the rook pawn!

Link to the complete analysis…
